
I recently had to re-install VS Code in order to complete the Winter ’20 Platform Dev I maintenance exam and I found that the instructions for getting all of the pieces together are a bit jumbled, so here are my steps for getting VS Code set up with Salesforce installed and ready for creating Lightning Web Components.
- Go to https://code.visualstudio.com/download and download the correct version for your machine
- Once installed, launch the program
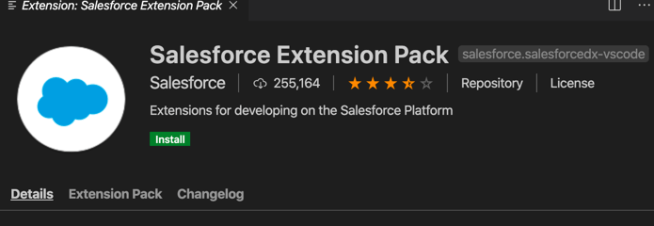
- Download both Salesforce CLI and the Salesforce Extension pack (you are working on getting the Salesforce DX set up)
- If you are running Catalina and cannot install the Salesforce CLI package, you are not alone. To get around this right-click on the downloaded file and Click Open (this will add an Open button to the same dialog box)
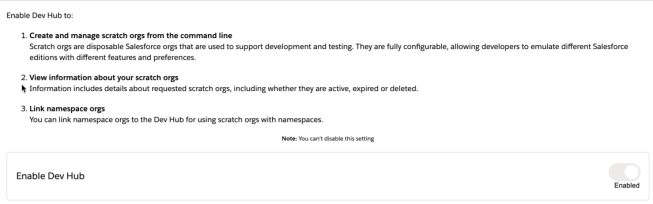
- Meanwhile, in your Salesforce dev org, you need to enable The Developer Hub

- Next is to update to the latest Salesforce DX – do this by going to Terminal and clicking New Terminal

- Run this command: sfdx plugins:install salesforcedx@latest
- This will install the latest version
- Next in the same Terminal window, update the CLI with this command: sfdx update
- Lastly, prior to getting into building, you will need to authorize your org, with the Dev Hub you enabled previously
- Create a project by going to command palette and type sfdx: create project

- Set up the name of the project and location to whatever works best for you
- Then type sfdx: authorize a Dev Hub

- You should see a success message once it is done
- Now you are ready to use VS Code for scratch orgs and creating Lightning Web Components
Here is a fellow blogger who wrote out their steps and has some of the install links included: https://www.sfdcpanther.com/how-to-setup-visual-studio-code-and-salesforce-dx/
